Wednesday, 4 October 2023

Week 23 2023-24 Colour Creations Blog-Hop - Flirty Flamingo


Hello and welcome to week 23 of the colour creations blog-Hop. This week our feature colour is Flirty Flamingo, I don't know why but I rarely use this colour. It's a kind of Orange/Pink and I find it very hard to work with. But here is my card of this week.
 

I started with a Basic White card base and added the Flirty Flamingo layer and the DSP called Stargazing. As this had some lovely Flirty Flamingo images on it. I then added my sentiment tag using Basic White and Flirty Flamingo and stamped in Memento Black ink. I also stamped the Astronaut from the Reach for the Stars Bundle. I stamped her in Flirty Flamingo so you know it's a She. I cut her out using the matching dies and attached her to the front of the card with dimensionals. Finishing off the front of the card with some iridescent gems.

I layered some more Flirty Flamingo card onto a Basic White so that I stamp another image of the Astronaut with some stars and message on the inside. All the items used in this project can be found in the 2023-24 Annual Stampin' Up! Catalogue. If you would like to know more about these product or would like to purchase them, Please feel free to contact me. Via email, PM or phone. So that I might help you.

To catch up with the next person on the Hop please follow the link button below to- Sharon Davern


  If the next button link is not working or you’d like to see the entire list of participants go to Catherine Proctor's Blog from Here

Thank you for taking the time to view my Blog.
Hugs Diane xx


Wednesday, 27 September 2023

Week 22 2023-24 Colour Creations Blog-Hop - Early Espresso


Hello and welcome to week 22 of the colour creations blog-hop. This week our feature colour is Early Espresso and I really do like this dark brown colour very much. 

I have chosen to make a Christmas card using the lovely Night Divine Bundle from the 2023 Mini Catalogue.  I started with an Early Espresso card base and added a Crumb Cake layer that I embossed using the Snowflake Sky 3d Embossing folder. I then run my White ink pad down the card so that the snow would show up nicely. Then using the  Basic Borders dies I cut out some in Early Espresso and Copper Clay for form the ground. Stamping some background. I then used the dies from the Night Divine bundle to make the nativity scene.


I added a little bit of darkness behind the star for that it looked more like it was shining. I also gold embossed the Joy & Peace in gold Embossing powder.

I placed my camel on the inside of the card as if he is waiting . This is such a lovely bundle I can see plenty of years of use out of this one. All the items used in this project are in either the 2023-24 Annual Catalogue or the 2023 Mini Catalogue. If you would like to know more about these product or would like to purchased them please feel free to contact, via phone, email or PM so that I can help you.

To catch up with the next person on the Hop please follow the link button below to-:Christine Blain


 If the next button link is not working or you’d like to see the entire list of participants go to Catherine Proctor's Blog from Here

Thank you for taking the time to view my Blog.
Hugs Diane xx

Wednesday, 20 September 2023

Week 21 2023-24 Colour Creations Blog-Hop - Dafffodil Delight


Hello and Welcome to week 21 of the colour creations Blog-hop. This week we are featuring Daffodil Delight. another Yellow colour but this one is a really lovely bright Yellow. I thought that it would go really nice with the Construction Zone Stamp Set. so here is my Card.

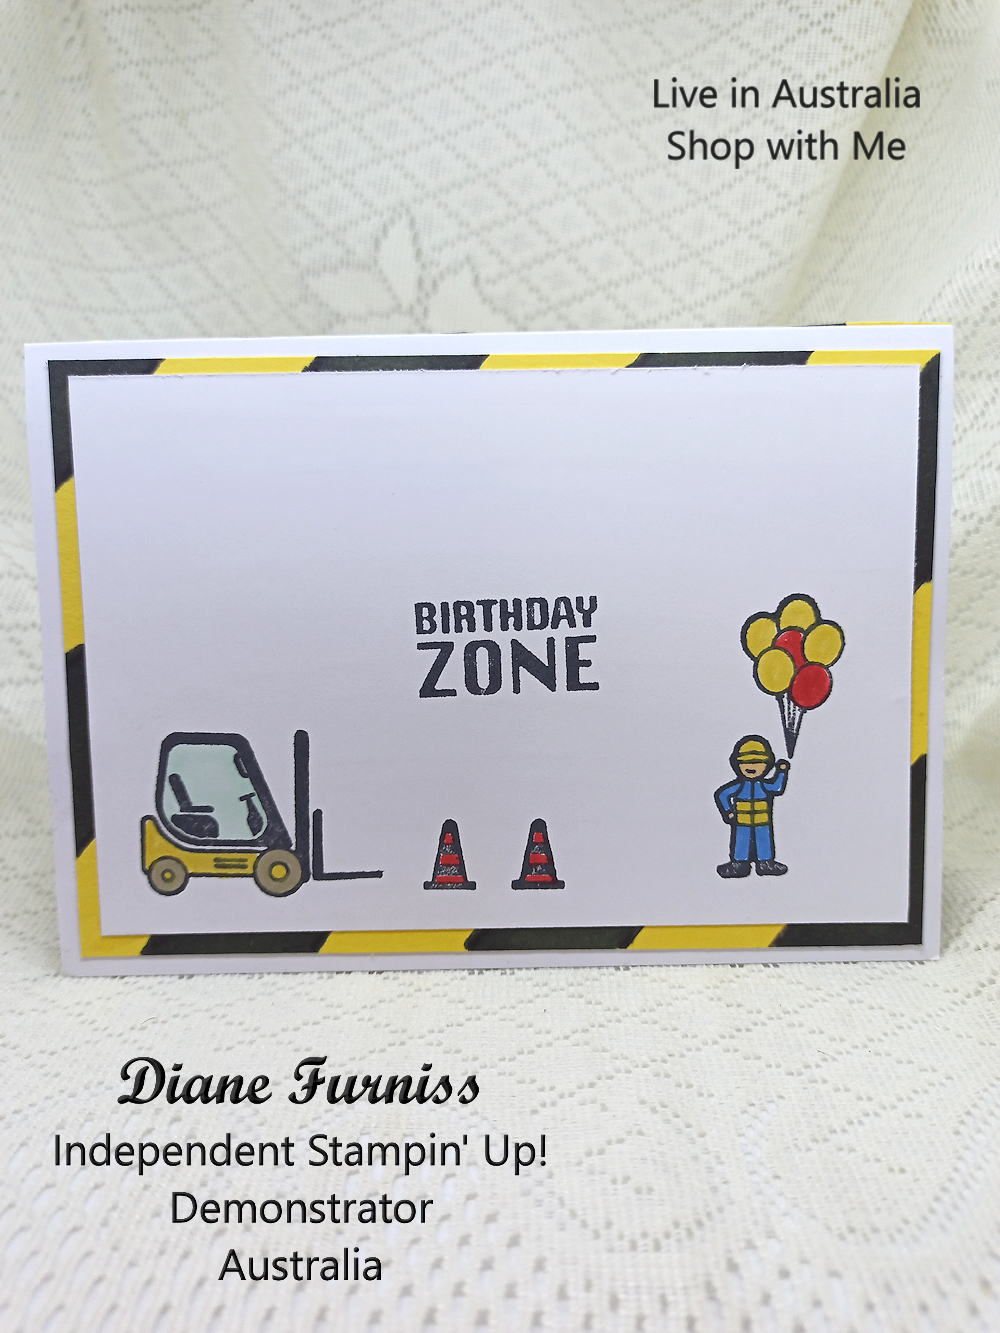
I started with a Basic White card base, not that you can see it. and I added Basic Black and Daffodil delight strips that I cut at 3/4 inch wide and glue them to the front of the card on the diagonal. I then cut out the centre front with the Countryside Corner dies. I then cut out another set to make the frame around the opening in the front of my card. I placed the piece that I cut out from the front onto the inside of my card and added my sentiment to this section instead of the front. I then stamped the forklift and mixer truck coloured them and hand cut them out along with the witches hats.  I then made this card into a Tent Fold as I wanted to add my truck and forklift to the inside of the card.


So I folded another piece of white card and stamped the inner base to look like gravel I used the stamp from the Oceanfront set for this. I then glue this section to the card and added my trucks and forklifts to the inside and front. I stamped the arrows around the edge to add a little more interest. I placed my writing panel onto the back of the card.

I added a Daffodil delight layers and then using one of the scrap pieces of strips I drew lines on the diagonal and coloured the black section with my Basic Black Marker Pen. I only had to do around the edges as I added the Basic white writing panel. Finishing off the panel with another forklift and workman. I really love the way this card turned out, it really does look like a work zone.

All the items used in this project can be found in the 2023-24 Annual Stampin' Up! Catalogue. If you would like to purchase these product please contact me via Email, Phone or PM so that I might help you with your purchase.

To catch up with the next person on the Hop please follow the link button below to-: Rachel Woollard


If the next button link is not working or you’d like to see the entire list of participants go to Catherine Proctor's Blog from Here

Thank you for taking the time to view my Blog.
Hugs Diane xx


Wednesday, 13 September 2023

Week 20 2023-24 Colour Creations Blog-Hop - Crushed Curry


Hello and welcome to week 20 of the Colour Creations Blog-Hop. This week our colour if Crushed Curry and as the name implies this is a rich mustard Yellow. It's not one of my go to colours, but it's still a lovely rich colour. This week I have chosen to make a Never Ending card with a difference. I'm also using the Stargazing Suite. I love this Suite.

Okay this is my card at 1st glance it really doesn't look like much, but it will stand up and I have made this as a really large card at 8 x 8 inches. But it could very easily be sized down. I used the lovely DSP that goes with the suite along with the dies. So starting with a Crushed Curry base scored and cut my card  before added the DSP layers. when you fold this card through it's Never Ending sequence you get to see the other elements on the card.

So 1st you fold the top back and then the bottom. Now fold the sides back and you end up with a triangle shape.


From there you fold the bottom down and you get a Christmas Tree Shape, then the top back. This is where you get to see the spaceman and Ship. once you have fold the side back you and turn the card over to see the back and the writing panel. This is a little different to the regular sort of Never Ending card but I thought I would give it a go. Even though it's a flat piece of card it will stand on it's own. I cut out a few stars from the Silver Fold card to use as embellishments on the back sky areas of the card.

All of the product used in this can be found in the 2023-24 Annual Catalogue. If you would like to know more about this design or the product used, please feel free to contact me via Email, Phone or PM. So that I might help you with your purchase.

To catch up with the next person on the Hop please follow the link button below to-:Andrea Sargent


If the next button link is not working or you’d like to see the entire list of participants go to Catherine Proctor's Blog from Here

Thank you for taking the time to view my Blog.
Hugs Diane xx


Wednesday, 6 September 2023

Week 19 2023-24 Colour Creations Blog Hop - Crumb Cake


Hello and welcome to week 19 of the Art with Heart Stampin' Up! Australia Team's Colour Creations Blog-Hop. This week we are featuring Crumb Cake, and as the name suggests this colour is a cake or biscuit colour.  For me it's a really easy colour to work with and I find it pairs nicely with almost all other colours. I have chosen to pair mine with Early Espresso, Gold and Old Olive.

I have made a Teepee Card this week this is a 7 x 5 inch sized card that lays flat for posting. I started mine with a Basic White card base and added the Early Espresso for my 1st layer. I then stamped in Early Espresso the tiny bees from the Lighting the Way stamp set. I then cut out the pieces for the 2nd layers. I cut my Lantern from the beautiful Distressed Gold specialty Paper. I thought it really gave the lantern that used look. Adding a few sprigs for the same stamp set and cutting them out with the matching dies. I finished off the front of the card with a sentiment tag and a few more of the bees along with the iridescent gems.

As you can see the card stands of 3 legs and folds around the back. I used Velcro Dots to hold the card closed while standing. My writing panel is under the flap.

I think you could use magnets if you wishes. when standing on the side this card measure about 6 1/2 inches in height. All the items used in this project can be found in the 2023-24 Annual Catalogue. If you would like to know more about this project or the products used please feel free to contact me via Email, PM or phone, so that I can help you.

To catch up with the next person on the Hop please follow the link button below to-: Theresa Gerrard

 If the next button link is not working or you’d like to see the entire list of participants go to Catherine Proctor's Blog from Here

Thank you for taking the time to view my Blog.
Hugs Diane xx


Wednesday, 30 August 2023

Week 18 2023-24 Colour Creations Blog-Hop - Coastal Cabana


Hello and Welcome to week 18 of the colour creations Blog-Hop. The colour that we are featuring today is called Coastal Cabana. A Beautiful Greeny-Blue. I really did wonder what shall I do with this colour and then I thought I will use the "It's a Science" Stamp set. So here is my take on this set.

I started my project with a Coastal Cabana Card base and using my Dauber and Coastal Cabana ink pad I edged the main card. I then did the same on my Basic White card. I also used my refill Bottle to drop spots of ink onto the card. I then stamped the atoms all around. I did the same with my Flagged Coastal Cabana piece of card. Using the Circles from the Reach from the Stars Bundle for the feature part of the card front. I then stamped the Microscope and hand cut this out after colouring it.

I think I went a little overboard with my basic pearls and iridescent gems that I coloured using Lost Lagoon. But I think it needed them in the end. I also dropped ink spots on the insert of my card along the using the dauber around the edges of the card and insert. I stamped the clip board for my saying. I think this came up pretty well considering that fact that I didn't know what I was doing. Making it up as I went along.

All the items used in this project can be found in the 2023-24 Stampin' Up! Annual Catalogue. If you would like to know more about this product or would like to purchase them please feel free to contact me via Phone, Email or PM.

To catch up with the next person on the Hop please follow the link button below to-: Kate Morgan

If the next button link is not working or you’d like to see the entire list of participants go to Catherine Proctor's Blog from Here

Thank you for taking the time to view my Blog.
Hugs Diane xx

Wednesday, 23 August 2023

Week 17 2023-24 Colour Creations Blog-Hop - Cherry Cobbler


Hello and welcome to week 17 of the colour creations blog-hop.  This week we are featuring Cherry Cobbler, this colour is a lovely deep red. it works well with so many different other colours it's hard to say which are the best.  I have used the Supremely Awesome stamp set on page 80 of the 2023-24 Annual Catalogue for my card this week. 

I started out with a Cherry Cobbler card base and added a Basic White layer. I then stamped the checkered stamp panel 3 times onto some more Basic white, lining it up as I went. cutting this out I added this to the front of the card. I then stamped the small Pizza pieces along the to and bottom and coloured them in. After I stamped the chief and hand cut him out. I used the die from the He's all that bundle for my sentiment as the scalloped edge looked like a pizza crust. colouring the crust with Pumpkin Pie. 

But when you open the card you have this lovely Pop Up.

I stamped the larger pizza pieces onto some more white and coloured them and place them around the edge of the tray. This card you have to write your message on the left-hand side.

I love the way this slides to fold flat for posting. All the items is this project can be found in the 2023-24 Annual Stampin' Up! Catalogue. I know I am going to get a ton of use out of this set. All of the checkered and word stamping are done in Cherry Cobbler. If you would like to know more about this fancy fold or the product used please feel free to contact me via email, phone or PM.

To catch up with the next person on the Hop please follow the link button below to-: Tina Gillespie


 If the next button link is not working or you’d like to see the entire list of participants go to Catherine Proctor's Blog from Here

Thank you for taking the time to view my Blog.
Hugs Diane xx